10 things I wish I knew about travel photography
Photography was one of my numerous hobbies for more than 15 years. I learned a lot. My photos got gradually better over the years. But some theoretical knowledge is only valuable if it was applied, practiced enough times to understand fully.
Here are few things I wish I knew earlier about travel photography:
1. Do not trust stability of your hands. If you are not shooting in broad daylight, if your scene is not obviously flooded by light, more likely than not, it is not lit enough. Put your camera on something or push it to something sturdy, like a tree trunk or a rock, to minimize shaking. If there is still not enough light, ramp up sensitivity settings — a grainy picture is better than a blurry one.
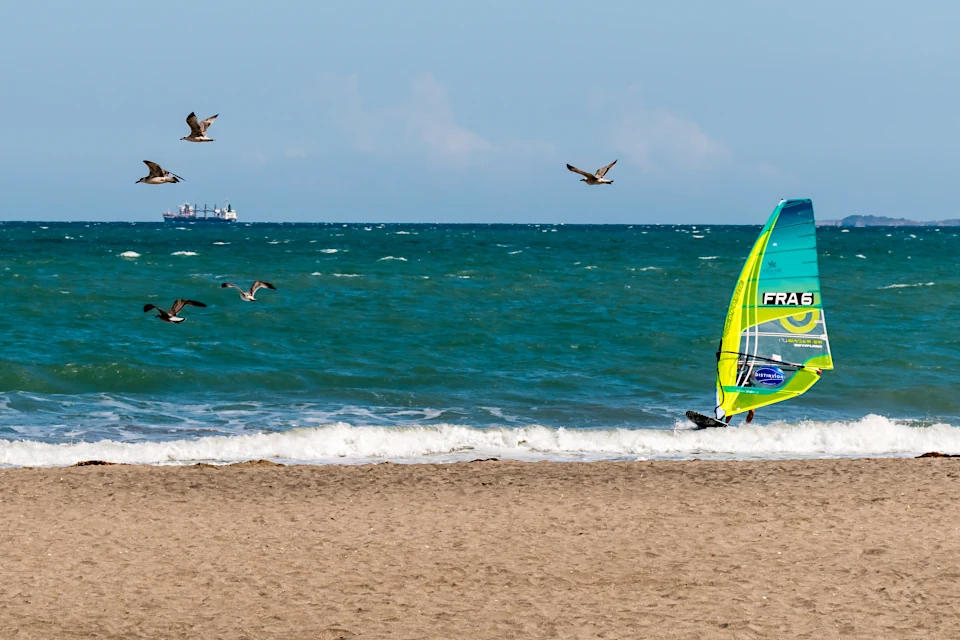
Mind the motion blur as well. The rule of thumb is to aim for the shutter speeds of 1/500 of a second and shorter for every shot that includes fast enough moving subjects: moving cars, flying birds, running animals, and even walking people. It means that on overcast day the ISO 100 sensitivity will be too low, and to ramp it up to 200 or better — 400 — will be a good idea.
At least, digital noise can be addressed in post-processing, camera shake blur or motion blur — not that much.
But still remember that…
2. You can’t fix everything in post-processing. Especially, if you are shooting without a tripod. If the light is too harsh, get back in better lighting conditions (during golden hour or on an overcast day) or be creative with framing, use full manual mode, auto-bracketing.
Just making a shot at -0.33 or -0.5 of a stop exposure compensation will allow to recover quite a lot of data from the shadows while saving as much as possible data in the overly exposed areas. Providing, of course, you are shooting in RAW.
Leaving more space around your subject will allow you to recompose your picture later, in the comfort of your home. However, the more extra space you will allow, and the more you will crop out in the post-processing, the less resolution will be left for the resulting image.
And this is why you should…
3. Do more takes. The memory card space cost is next to nothing, as well as the cost of taking a picture. Modern DSLR cameras can make at least 100.000 shots before requiring attention. It makes one single shot very cheap, comparing to the film cameras.
Experiment with exposure settings, focus points, framing and composition. Don’t forget to shoot the plaques, signs, information boards and other things that will help you craft your story later, make it more accurate, add interesting details to the captions of your photos.
If there is motion involved, more takes in a burst mode will help to choose a better step phase for the person or a better wing position for the flying bird in the frame, less (or more) motion blur for the fast moving objects.
4. Auto-bracketing is extremely useful. Use it all the time. Even if you are shooting in RAW — in challenging lighting situations the camera exposure meter may be less accurate. Auto-bracketing will help to choose the best possible starting point for your post-processing efforts.
5. Watch what you are focusing at! Camera auto-focus system can be even more quirky and error-prone. It’s a big let-down to learn later at home that you’ve accidentally left the main subject of the photo you’ve taken in a far away exotic location — out of focus. Always follow the tip #3 if you are not sure.
6. Isolate the main subject of the photograph with framing and bokeh. Avoid unnecessarily busy backgrounds.
When shooting people, mind obtrusive objects in the background — like lampposts, poles, or tree branches — that can accidentally stick out of your main subject’s head or body.
7. Always fix perspective in city/architectural photography. Unless, of course, you are using perspective distortions to convey the height of some object, the grandeur of some landmark, or enhance the impact of your photograph in some other way.
When shooting architecture, always remember to leave enough space above and around your main subject for perspective correction.
8. Retouch in GIMP when necessary. Not everything could be done in the RAW processing software. GIMP/Photoshop and RawTherapee/Darktable/ACR are made to complete not replace each other.
Oh, and you absolutely should not expect to receive a quality photo right out of your camera, no matter how expensive it is. Sometimes, you can get lucky, but the lottery is not a stable source of income.
9. Avoid taking vertical, portrait oriented photos unless you are naturally shooting portraits or architecture, other man made landmarks. If you don’t need all the width your 4:3 or 3:2 aspect ratio camera provides to make the picture topically complete, better frame the picture into a perfect square in post-processing.
Vertical photos made sense in the olden days when they were printed out and hanged on the walls or published in the magazines. Now we mostly enjoy photographs on our computer screens — horizontally oriented most of the time.
10. If your are staying in the unknown city for more than a day, take your first walk without a camera. You can always shoot something really interesting you’ve spotted on the first walk with your smartphone. Enjoy your visit without being a photographer on unpaid assignment, but take notes that you can use for your travelogue and to plan your next walks with the camera.
Some places are better to shoot in the morning, some in the evening, and some — in the night. But every place is better to shoot prepared.
